Photo tips, tricks and my latest captures

Latest

My Best images of 2015

I had another great year of wild experiences. One of my favorite trips was to see polar bears in the Arctic National Wildlife Refuge within the arctic circle. However, my most memorable experience of 2015 didn’t involve taking photographs. On June 1st, a driver of a F250 pickup going 60mph fell asleep and hit me in a head-on collision. I managed to escape with a broken neck and ankle but thankfully, did not require surgery. After many weeks of physical therapy, many bottles of Ibuprofen and the support of my family and friends, I can now resume exploring the wild places even though I am not 100 percent back to normal.

Of many pictures I took here are some of my favorites.

  1. Polar bears in Arctic Circle near Kaktovik, AK


harshaj_151003_3464 copy 2web


2. The polar bear mother and the cubharshaj_151005_3354 copy 3web.jpg

3. Pheasant Hunt

harshaj_150412_2094 copy 3web.jpg

4. Northern Hawk Owl in Northern Minnesotaharshaj_150209_604 copy 2web.jpg

5. Saw Whet Owl with a mouse.

harshaj_150104_50 copy 2web.jpg

6. Great Horned Owl take off

harshaj_20151115_1345-754 copy 2web.jpg

7. Canadian Rockies in the winterharshaj_150116_387_2 copy 2lesssaturated.web2.jpg

8. Peyto Lake in Albertaharshaj_150111_18-2 copy 3web.jpg

9. Steaming Creek, Mammoth Lake, Eastern Sierraharshaj_20151209_394-69 copy 3web.jpg

10. Hidden Chamber, Valley of Fire State Park, NVharshaj_20151202_644-67 copy 2web.jpg


Review of Nikon 600 F/4E FL ED VR lens

I was excited to received the new Nikon 600/F4 FL VR lens from Allen camera recently. Many people ask “why get the bigger 600mm and not the lighter 500 or 400mm lens”?  The choice depends on so many factors including the subject that one shoots. The famous Canadian nature photographer Brad Hill wrote an excellent article about this on his blog site.

http://www.naturalart.ca/voice/blog.html

Scroll down to the July 9th 2015 blog post where he talks about pros and cons of all three super telephoto lenses.

I like to photograph song birds that are very small and the Nikon 600mm works well for me. Since I have only full frame sensor cameras, I need all the reach I can get. Once you get spoiled by the quality of full frame Nikon sensor files, it is hard to go back to a crop sensor camera. My old 600VR is excellent but heavy at 11.5 LBS making it very difficult to handhold. When Nikon announced the new lens that was only 8.4 lbs ( that is 3 lbs. lighter than the older one), I was very excited. Nikon claims that this is the world’s lightest 600mm super telephoto lens.

You can read all about the specs of the lens on many websites and I am not going to go over that here.

AF-S-NIKKOR-600mm-f4E-95million-970-80

The new lens came in a custom made case which is light and modern compared to the wooden box of the older lens.

1435820513000_IMG_510024

The new Nikon lens is lighter than the newest Canon EF 600mm f/4L IS II USM .

As soon as I lift the lens from the case I felt a  difference. The lens was  lighter and I knew I could handhold the lens at least for few shots. This is a big deal. I used one of the third-party straps ( Peak Design) to secure the lens and carried around my shoulder without much of  a discomfort. The next day I walked  closed to 2 miles at my local nature center carrying the lens. I took nearly 300 shots handholding the lens at various shutter speeds. Keeper rate was very high. I was surprised how well I could handhold the lens for extended periods. Kneeling down and resting the elbow on my knee while holding the lens makes low-level shots easier to make.( Rabbit and the Green Heron images). When upright, I press my elbow against the body to steady the lens.( Butterfly shots). With practice and good technique, sharp images are easier to come by.  Holding the lens pointing up to get an image of a warbler, way up on a tree top is much more difficult. I still could get a sharper image, but after few seconds I was shaking.

I also like the one piece lens hood instead of the two piece one in the older version. However the  smaller part of the older hood can be placed inside the larger one for travelling thus saving space.

The monopod collar is placed towards the back of the lens compared to the older lens. When a camera is attached, holding the lens from the monopod collar feels well-balanced. The monopod collar comes with a rubberized top for better grip. I attached a Wimberley P-50 plate to the monopod collar so I can mount the lens on a tripod. This plate feels large and P-40 plate may fit better. I don’t think I am going to replace the original foot with a third-party one as I did with the older lens. This lens going to be more versatile with a  monopod.

The biggest surprised for me was how well the new VR mode works. It is supposed to compensate for 4 stops of light and it does. It is possible to handhold the lens and take a sharp shot of a stationary subject at 1/30th of second. In my book that is just amazing.

harshaj_150905_2074web

harshaj_150905_2104web

harshaj_150905_2140web

I came across this rabbit while photographing the butterflies. I kneeled down and supported the elbow and lens on my knee and got this low-level shot. With my older lens I had to adjust the tripod to lower level to get this shot and the rabbit would have gone by then.

harshaj_150906_2042web

ISO 800, 1/800, 600mm, F4

This Green Heron was photographed handholding the lens.

harshaj_150906_2085web

F4, 600mm, ISO 1600, D3, 1/500

How does it pair with the 1.4TC II teleconverter?.( I don’t have the latest Version III ).  Quite well. The autofocus is slightly slower compared to the bare lens but the IQ is maintained.

White Breasted Nuthatch at my feeder. Click on the image for bigger version.

harshaj_150906_2030-2web

F5.6, 850mm, ISO 800, 1/500, 1.4TC II

harshaj_150906_2108-2web

F5.6, 850mm, D3, 1/640 sec, ,with 1.4TC II

harshaj_150906_2028-2web

Another improvement is the electromagnetic  aperture mechanism of the lens. With the older lens if you shoot at 9FPS with my D3, some of the frames have different exposures. This is much improved with the new one and I could notice the uniformity of the exposure during a rapid fire.

The new version is little shorter compared to the older version. (432mm Vs 444.5mm). This negligible difference makes a significant impact in portability. When I travel, I couldn’t pack the older lens with a camera attached to my Gura gear Kiboku 32L backpack. With the length difference, now I can pack 600FL VR lens with a D800 attached to one compartment of the bag.
VR implantation has changed as well. It is a switch instead of a ring/slider that can accidentally get turned off in the older lens. There are two VR modes. Normal mode is for everything except when the subject moves erratic or you’re on a moving platform like a boat when sport mode is used.. Sport mode is also recommended for panning. I have not had the opportunity to use the sport mode yet but normal mode is very effective.

The drop in filter size has changed to 40.5mm. The  Circular polarizer I had for older lens cannot be used on this one.

The minimum focusing distance of the new lens is 14.4 feet compared to 15.7′ of the older lens. The difference is only 15″ but that is noticeable and useful. This Hummingbird was photographed very close to the minimum focusing distance. I used the 1.4TC II for this shot.

harshaj_150909_2320-2 copy 2web

F6.3, 1/1250 sec, D3, 850mm, ISO 800

harshaj_150910_2412web

F8, 1/1250, 850mm, ISO 640 D3

I came across this deer while I was walking to the car at the nature center. Taken handheld.

harshaj_150906_2020web

F4, 1/160, D3, ISO 800, 600mm

So what about the image quality compared to the old lens? I have used the 600VR lens for about three years extensively and  am very familiar with it. The IQ of 600VR is stunning and it is going to be very difficult to top that. I feel that the IQ of the  new lens is at least as good  or slightly better. The AF acquisition may be a touch faster too. The 1.4TC II works very well with it. The AF with the TC may be slightly better too. The lens vignetting in the corners are improved. I feel the corner sharpness is better.

Is it worth upgrading? That is a very difficult question. If you use the lens mainly from a  vehicle or on tripod and are not planning to walk  carrying it, I would keep the older lens. However weight reduction, ability to hand hold for a short period and the very effective VR makes this a lot more versatile lens than the older VR version. If you’re looking for a 600 super tele, now may be the time to get the older lens at a great price from a person upgrading to the new one.

My trip to Bitsi and Ah-shi-sle-pah badlands, New Mexico

harshaj_141020_63 copy 2web

Click for larger version

http://harshaj.smugmug.com/Locations/Bisti-New-Mexico/i-R9rkGQ7/A
The first time I saw an image of Bitsi Badlands in New Mexico it immediately was added to my list of must see places. Finally I was able to make it happen.
Bitsi is an alien landscape in the St. Juan basin dotted with hoodoos and other strange-looking rock formations. It is near the four corners area. The closest major city is Farmington, NM. It is about a three hours drive from Albuquerque. Very few people visit this remote area. Most of the area is public land managed by BLM. However some of the adjacent land is private native Indian land.

Larger map of the area,

NM map

Close up map

Bitsi
According to my research, spring and fall are the best times to visit. Spring can be windy and the fall is the end of the rainy season. Summer can be very hot, but this is the best time to visit if you want dramatic skies. Winter can be very cold.
I flew to Albuquerque and rented a SUV packed with camping gear and enough food to last for several days. I took I-40 west and I-371 north to reach Bisti. It took me nearly 3 hrs to get there.

Bisti/De-Na-Zin Wilderness
The Bitsi wilderness consists of two main washers. The Hunter wash is to the north and the Alamo wash is to the south. Even though these two washes are right next to each other, there is no direct road between the two. Road 7280 between the two is impassable due to flooding. You have to go back to 371 to reach the other wash. From the parking lot the badlands expands to the east and ascends. If you ever get lost go west until you reach the road and then find the parking lot. There are no trails, signs or facilities at Bitsi. Primitive camping is allowed.
Hunter wash
Brewing Thunderstorm at the parking lot, Hunter Wash
Saris
Thunderstorms can be very dramatic in New Mexico. You don’t want to be caught in a thunderstorm in the Bisti area. You will get stuck regardless of what kind of vehicle you drive.
After a rainfall the sand turns into sticky and slick paste making the roads impassable.

Getting to Hunter wash

If you’re travelling from Farmington take I-371 south and make a left to county road 7290.  At the junction there is a historical marker.
hunterwash
At the entrance there is a sign stating that you cannot access Bisti/ De-Na-Zin. ( This is public land and you’re not trespassing).  The road ends at the wilderness parking area. Park near the fence and climb over or under the fence to get to the wilderness area. The road is not well maintained and part of it is washed off. I still think you can make it to parking lot in a passenger car, but a high clearance vehicle is recommended.
From here go east for close to a mile to find interesting hoodoo formations. The main attraction here are the wings.
harshaj_141022_50-blog2 I photographed these from a mound at a lower level looking up. From here you can frame both wings. Climbing up to them gives you a different perspective (the image above). There are many interesting hoodoo formations nearby.

Larger version is here

http://harshaj.smugmug.com/Locations/Bisti-New-Mexico/i-ZHXHd57/A

harshaj_141020_69 copy 3web

Larger version is here

http://harshaj.smugmug.com/Locations/Bisti-New-Mexico/i-kpZJRQL/A

Alamo wash
This wash has two parking areas (an old parking area, as well as a new one). The old parking area is bigger, but the newer one has a sign.
bisti parking
From here head east. Your first landmark is two red mounds at a distance.
red mounds

Head towards those red mounds. This trail is parallel to a fence line that extends for quite a distance. The fence line takes a left turn after you pass the red mounds. If you want to see cracked eggs and other formations keep to the right (southeast) of the mounds and follow the wash. Your next landmark is two black hills at a distance. Now you want to be on the left hand side of the hills.
black hills
Again head south and follow the wash. The cracked egg factory is around the corner. This can be easily missed if you don’t pay attention. After photographing the egg factory, go east. Each turn takes you to many different hoodoo formations. Keep going until you find the area called Hoodoo City.
Million year old petrified trees can be found everywhere.
petrified tree Coming back you may want to check out the hunter wash from this side. If you decide to do that follow the fence line when it starts taking the left hand turn (north). The hike here is definitely more interesting. On my way back from hunter wash I tried to use memory instead of my GPS (thought I wouldn’t recommend this). I lost my way and wasted 45 minutes trying to get back to the parking lot.
harshaj_141024_319ver3 copy 2web

Larger version

http://harshaj.smugmug.com/Locations/Bisti-New-Mexico/i-BdtMzWL/A

The shot below was taken about an hour before the sunrise. You can see the first light on the right upper corner.

harshaj_141024_308ver2 copy 2web

Larger Version

http://harshaj.smugmug.com/Locations/Bisti-New-Mexico/i-h9VZXMV/A

Cracked Eggs an hour before sunrise

harshaj_141019_290-copy-2web

Ah-Shi-Sle-Pah Wilderness Area

Don’t forget to visit the Ah-Shi-Sle-Pah Wilderness Area when visiting Bisti. This part of the  badlands is between Chaco Canyon and Bistsi Wilderness. This area was made famous by the discovery of a specimen of a dinosaur from the late Cretaceous Period. The specimen was unearthed by Charles Sternberg and is now preserved at the Museum of Evolution in Uppsala Sweden.
Ah-Shi-Sle-Pah is known for its yellow capped hoodoos. It is conveniently divided into three main areas.
The main area ( The study area)
harshaj_141021_285blog

Larger Version

http://harshaj.smugmug.com/Locations/Bisti-New-Mexico/i-36qS3Q9/A

If you’re coming from Farmington, take 371 south to mile post 61. Take a left turn to 7650. Go 7.6 miles and make a right turn to 7870. Go 7.6 miles until you come to a T-junction. Make a left and drive 2.6 miles to the parking area for Ah-Shi-Sle-Pah on the left hand side. There is only room for one car at this parking spot, but you can park on the road.
parking
From here to the trail head is 0.6 miles.
On my first visit, I arrived there around 2:30pm then set off around 3:30 to scout the area. As soon as I reached the main area, I went to the valley to explore. You can also get good views from the edge of the rim. Nonetheless, I wanted to photograph the yellow hoodoo which is shown here. I could see it from the valley, but there was no easy way to get up there. After trying many routes, I finally managed to reach the area. The first thing I did upon arrival here,  was to make note of the best way out in case I decided to stay late. The climb is scary and not for the faint of heart  (unless, of course, there is an easy way to get up that I was unable to find). A GPS unit is highly recommended to find your way around.
King of the wing
TemporaryActionCopy-blog

Larger Version

http://harshaj.smugmug.com/Locations/Bisti-New-Mexico/i-Hf5RLdz/A

This area is famous for the hoodoo with a long wing perched on a rock mound. To get to KOW take 7650 for 10.5 miles and turn left into a jeep trail that will take you to a windmill which you can see from the main road. You can park here or continue on the same trail for another 1/2 Mile. If you continue on the trail, then assure you have a high clearance vehicle since the road becomes rough. There is an open area on the left hand side where you can park. Once you park, head south towards the KOW. I parked beyond the windmill. To my surprise, there was another SUV already at the parking area. This area is tribal land so please do not camp here. You have to first go under the fence line heading south. After a while you come across a sea of green mounds that you have to cross. Some of the mounds are impossible to cross. The best way is to go around it. If you look to your right hand side you can see a small hill covered in wiry scrub. Head toward that and try to go around the mounds in a southerly direction. KOW is hidden from sight until you’re very close to it.
I was there at sunset with only a few clouds. I did star trails until 11pm.
harshaj_141023_213_2 copy 2web

Larger Version

http://harshaj.smugmug.com/Locations/Bisti-New-Mexico/i-HW8LvzP/A

While my camera was running, I lay on a flat rock and looked at the stars and the beautiful milky way. I was annoyed by all the air traffic at night because it ruined many of my frames, thus creating more work for me. One should prepare for the cooler temperatures here at night. I started heading to my car close to midnight. It took me about 48 minutes to follow the route back using my GPS device. Make sure you have two headlights if you decide to get back at night in case one fails. It happened to me and the thought of spending the night there was kind of scary.
harshaj_141023_142 copy 2web

Larger Version

http://harshaj.smugmug.com/Locations/Bisti-New-Mexico/i-NSbPS4N/A

Valley of dreams

harshaj_141024_280 copy 2web
Approach

Take CR 7650 for 7.8 miles and then turn into 7870 and drive for about 7.5 miles. Turn left to an unmarked road and head north for about 0.4 miles. bear left and go another 0.7 miles then make a sharp left. Drive for 0.4 miles and park.
Once you have parked here, mark it on your GPS and head north. It is about a mile hike but you have to cross a few dry creeks to get there. As you travel, there are many interesting hoodoo formations including an ancient roman city, mushroom formations and hoodoos looking like temples. Mark these sights on your GPS while scouting so you can come back to these when light is better.
There is another group of hoodoos called Valley of dreams east. I found these less interesting, but you might think otherwise. You can drive right up to these hoodoos so they are ideal for star trails. While the camera is running you can sleep in the safety of your car.

General tips

1. Take a GPS and extra batteries. Map will be useful if you don’t have a GPS.

2. In Bisti, walk west if you got lost. This will take you to the road.

3. Do not go there in rain. You will get stuck.

4. Scout the area in advance.

5. The best pictures are taken during the blue hour (an hour before and after both sunrise and sunset)

6. Take plenty of water and a headlight in case you decide to walk to the car in the dark.

7. No cell coverage.

If you find any of this info is inaccurate then please let me know so that I can make corrections.

Finally I have a new FB page https://www.facebook.com/pages/Harsha-Jayawardena-Photography/356029497940998 Please like the page if you want to follow my Photography.

Perfect Sunstar

How to avoid lens flare and get a perfect sun star

harshaj_150111_18-6 copy 2web

Click on the link for a larger version http://harshaj.smugmug.com/Locations/Canadian-Rockies/i-KxhMnMR/A

I love to include a sunburst or sun star in my images. Sun star gives that special wow to an image and draws the eye to that area.  It works best when the sun is low in the horizon such as in the late afternoon, sunset and sunrise. Covering the sun partially with a cloud, mountain or a tree branch can reduce the flare.

You need a very small aperture of at least F14  to capture the radiating beams of the sun. The light rays are created by light diffraction (bending of light) at the aperture blades at these smaller F stops.

Include the sun in the upper third of the image for better composition.

Sometime sunstars can occur even at F8 under certain conditions.The image below was taken at Great fountain Geyser , Yellowstone in a late afternoon. The camera F stop was 8. I used a 14mm lens and a polarizer and was surprised to see a nice sunstar. That was created by the low angle of the sun and the sun light filtering through all of the mist from the erupting geyser.

harshaj_140925_100 copy 3web

Larger version can be found here http://harshaj.smugmug.com/Locations/Yellowstone/i-bNCgv8J/A

The shape of the sunstar is influenced by the number of blades in the lens and the shape of the aperture of a given lens. Some lenses are known to create better sunbursts.

Lens Flare

Unwanted effect of shooting directly into the sun is the lens flare.

harshaj_20070923_0584web

The flare is caused by light reflections inside the lens itself. Many factors contribute to this.

1. Certain type of lenses are more prone to this. High quality lenses have many anti reflective coatings applied to the surface that reduce the flare. Nikon uses  a Nano coating and fluoride coating to reduce the flare and Canon lenses have similar coatings.

2. Presence of a protective filter such as a UV filter can make the flare worse. Remove the filter to reduce that.

3. The best way to avoid the flare is to use the lens hood provided with the lens. This significantly reduces the flare by preventing stray light from entering the lens.

4. Dirt on the lens makes the flare worse and a clean lens goes a long way to avoid this.

In spite of all the precautions mentioned above, you can still get lens flare. Of course if you hide the sun behind a tree or mountain in your composition you’re not going to see the flare but then that beautiful sun star is not going to be in the image.

There are few things you can do to help the situation.

Use a piece of cardboard or your hat as an extension of your lens hood. Experiment with the angle to shade the lens while looking through the view finder. When you don’t see the flare press the shutter.

Changing the angle of the camera may also help.

Another trick that works is to take a shot with the flare and take another shot placing your finger in front of the sun to cover it. As longs as the composition hasn’t changed the two shots can be combined later. This works best for me.

Here is how this is done. The image is not a great shot and was shown here for demonstration only. Here is my first exposure shooting directly into the sun. Noticed the flare.

harshaj_140924_58 copyweb

The next shot was taken with a finger to cover the sun. This significantly reduced the flare but you still can see it.

harshaj_140924_59 copyweb

I combined the two in PS  and did some minor correction to get the final image shown below. It still shows my sloppy work with healing brush tool but you get the idea.

harshaj_140924_58

My day trip to Sax Zim Bog in Northern Minnesota

I had the weekend off and decided to go  Sax Zim Bog looking for owls. I saw only one Great Grey Owl in poor lighting and no hawk owls.. However I got to see a Northern Hawk Owl near Duluth.. He was corporative for few minutes before flying off.

harshaj_150209_604 copy 2web

Finches at the feeders were very active.

Common Redpoll

harshaj_150208_324 copy 2web harshaj_150208_458 copy 2web

These are the only Great Grey Owl shots I got. .

harshaj_150208_74web

harshaj_140309_855 web harshaj_150208_76web

Stay tuned for trip reports on Canadian Rockies and Bisti Badlands of New Mexico.

Saw Whet Owl

Saw Whet Owl is one of the cutest owls you can find in North America. These owls are particularly friendly and tolerate the proximity of humans. This owl is about the size of an American Robin.They typically spend their daylight hours sleeping on a branch just above the eye level. At night fall they begin their hunt for small mammals like mice.
harshaj_150103_267 copy 2web
I have been fortunate to find a saw whet owl close to where I live every winter. This winter was no exception. My first two outings around Christmas yielded nothing. Not only did I not find the owl but I also lost my tripod head which came undone from the tripod while I was navigating among the thick brush. Little did I know that this was a blessing in disguise. Three days later when I realized that I lost the tripod head I decided to go looking for it. Fortunately, I could still see my footsteps in the snow. After 45 minutes of searching I found the tripod head. Just a few feet away the saw whet owl was waiting for me. To my surprise it was very alert. The big yellow eyes followed my every move.
harshaj_150103_223 copy 2web
Two days later we had 5-6 inches of snow. The temperature was a frigid 1*F with gusting winds. Against my better judgement, I decided to head over to the nature center looking for the owl. I found the owl about two hundred feet to the north of my original sighting. The owl was clearly not as impressed with me. It hardly open its eyes.
harshaj_150104_15 copy 2web
After observing the owl for about 30 minutes I was ready to head home but decided to get a picture from a different angle. Then I noticed the mouse. The owl had caught a mouse and gone to sleep holding on to it. I am sure he/she was saving the poor mouse for a snack later on. harshaj_150104_50 copy 2web

Image

My Best images of 2014

It has been a great year and I am looking forward to next year for good photo opportunities. Here are my favorite images of the year. (Go to my website for larger versions. http://www.harshaj.smugmug.com)
Happy New Year
1. Rise above the clouds_ Mt Rainier, Washington USA

harshaj_rainier_01_3000 web
2. Wildflowers_ Columbia River Gorge_ Oregon
harshaj_140503_306 web
3. Ruby Beach Sunset_ Washington
harshaj_140505_607 web
4. Proxy Falls, Three Sisters Wilderness, Oregon
harshaj_140802_100ver2 web
5. Snowy Owl Hunting, Minnesota
harshaj_140222_510 copyweb
6. Great Fountain Geyser. _Yellowstone NP
harshaj_140925_100 copy 3web
7 Yellow Hoodoos_Ah-Shi-Sle-Pah Wilderness , New Mexico
harshaj_141021_285blog
8.Star Trails, Ah-Shi-Sle-Pah Wilderness
harshaj_141023_213_2 copy 2web
9. Elk_ Yellowstone NP
harshaj_140926_512 copy 2web
10. Hawk Owl
harshaj_140308_383web

Focus stacking for sharper images

harshaj_130208_194ver2blog

Alabama Hills, Lone Pine, California

D800, F22, 1/4 second, ISO 400, 38mm(24-70/F2.8)

Depth of focus increases  when a smaller aperture is used. However this comes at a price.   Certain amount of  light get dispersed when the light hits the edge of the lens aperture blade when passing through it. The light dispersion cause softness and this is called diffraction. Less light get diffracted when the aperture is larger. The diffraction limit of the lens is the aperture at which the diffraction is noticeable.

Another factor affecting the diffraction is the pixel  size of the  sensor. Diffraction limit sets in sooner with a smaller pixel size. A crop APC sensor( which has smaller pixels)  will reach the diffraction limit before a full frame sensor with larger pixels.

Cambridge in Color has a nice article explaining this http://www.cambridgeincolour.com/tutorials/diffraction-photography.htm

There are many calculators that are available online to find out the diffraction limit of your camera/lens combo.

Landscape photographers want highly detailed sharp images with everything in focus. The best way to achieved this is by  focus stacking. The lens is sharpest when it is stopped down one or two stops from its widest aperture. If you have a 16-35/F4 lens like I do, the sharpest images are produced when the aperture is set between 5.6 and F8.  Beyond that the image can get  soft due to diffraction. Focus stacking is the technique where multiple images are taken at different focus points from near to far and combining them  later. This can be done in Photoshop or using a specialized program called helicon focus.  http://www.heliconsoft.com/heliconfocus.html

Another way to achieve this is to use a tilt/shift lens.

The image above was taken in Alabama Hills near Lone Pine, California.  That day I was staying near Bishop and planning to shoot the sunrise at Mono Lake which is nearly an hour north. The weather that morning brought high winds and snow to the higher elevations making the drive to mono lake unsafe.  We quickly changed plans and headed to Lone Pine. This gave us very little time to find an interesting scene for the sunrise. When I found this particular rock with the cactus in the foreground, the best of the sunrise was in full swing. I did not have time to focus stack the scene. Instead I decided to use a smaller F stop to get both foreground and the distant mountain in focus.  The focus point was set  just beyond the cactus.  At 100% magnification the background mountain range appears slightly soft but I can still print this big without any problems as long  as viewing is  done at a  normal distance.

harshaj_131117_148 copy 3webFB
This next image is taken in Escalante wilderness in Utah. This particular slot canyon is appropriately named spooky. Part of the passageway leading to the arch narrows down to about 10″. Not a good place if you are claustrophobic . I had to walk sideways to squeeze through the narrowest areas. Setting up the tripod was a challenge due to narrow confines and uneven surface. The nearest sands stone wall was only inches from the camera while the arch with light filtering through was several feet away. This was a perfect scene for focus stacking. Once I was happy with the composition I turned the camera to manual mode. . The angle of the camera was such that I could not comfortably use the camera live view for focusing. Instead I used the focus ring. The nearest wall was a foot away so I turned the focus ring to 1 foot mark. This was repeated several times to get at least 4 different focal points from near to far. No exposure bracketing was done. How many focus points to take depends on several factors.
1. Aperture. Smaller the aperture, larger the dof. If you decided on a larger aperture you may need several shots with different focal points.
2. Lens. Wide angle lens have incredible DOF. My 14mm lens on a full frame camera has a wide dof. If the closest subject is more than 3 feet away most of the scene is going to be in focus. In that situation I can choose to shoot at infinity and take one shot. The opposite is true with longer focal lengths. DOF calculator on a smart phone can be very helpful.
3. DOF on a full frame sensor is shallower than a crop sensor

Once you got the shots you can use several programs to blend them together or do it manually. PS does a very good job of doing this for you.

This is how you do this in PS

1. You need to get the images as layers into PS. If you’re a LR user select the images you want to stack and right-click them. In the floating menu click on edit in and choose open as layers in PS

2. Next you need to auto align the images. Once you have all your images as layers in PS, click on the top layer and then Shift-click on the bottom layer to select all the layers in the stack. Then go to edit and select auto align layers. Select auto and click OK

3. Next you need to auto blend these layers. Make sure you still have all the layers selected. Go to edit and then select auto blend layers. Then  select  Stack Images and make sure  Seamless Tones and Colors is checked. Click OK.

4. Now you are done. Enlarge the image 100% and check carefully for any errors. Then process the image as usual.

Bristlecone pine tree under the canopy of the Milky Way Galaxy

Bristlecone pine trees are some of the oldest living things in the world. They are found at very high elevations usually above 9000 feet. They prefer soil rich in dolomite. Dolomite has a high concentration of calcium magnesium carbonate (very alkaline) and only very few species can grow in this soil. Bristlecone pines thrive in this harsh environment. This particular forest is part of the Inyo National Forest in California. Getting there is easy. Take highway 168 just north of Big Pine. Follow Hwy 168 east 13 miles to White Mountain Road. Turn left (north) and drive 10 miles to the Schulman Grove Visitor Center. There is a $3 fee. If your pressed for time take the Discovery trail (1 mile) which is shorter but has two of the most famous photogenic  trees. This tree had been dead for a while. Harshaj_061207_1655web This living tree ( 3000-4000 yrs old) sits right next to the dead tree. Harshaj_061206_1505web The Methuselah Trail is 4.5 miles long and has an elevation gain of 900 feet. This trail takes you to the world’s oldest tree. The tree is estimated to be 4,743 years old and not marked to avoid vandalism. This is a view looking south from the Methuselah Trail. harshaj_130711_375web Patriarch Grove Take the gavel road for 12 miles  from  Schulman Grove . The Patriarch Gove has the largest Bristlecone pine tree in the world. It is well-marked on the  Timberline Ancients Nature Trail.  Elevation here is at least 11, 000 feet. If you walk southwest from  the parking lot for less than 1/4 mile you come across several very photogenic pine trees. harshaj_130710_307web This brings me to the title picture that is displayed above.  In the next post I will talk about planning and making this shot. Stay tuned.

Auto ISO and when to use it.

harshaj_130112_205ver2web

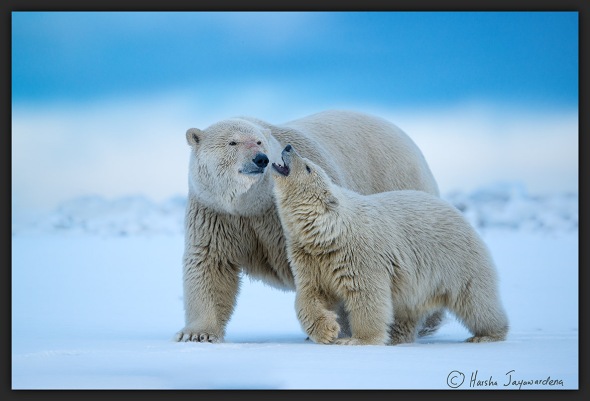
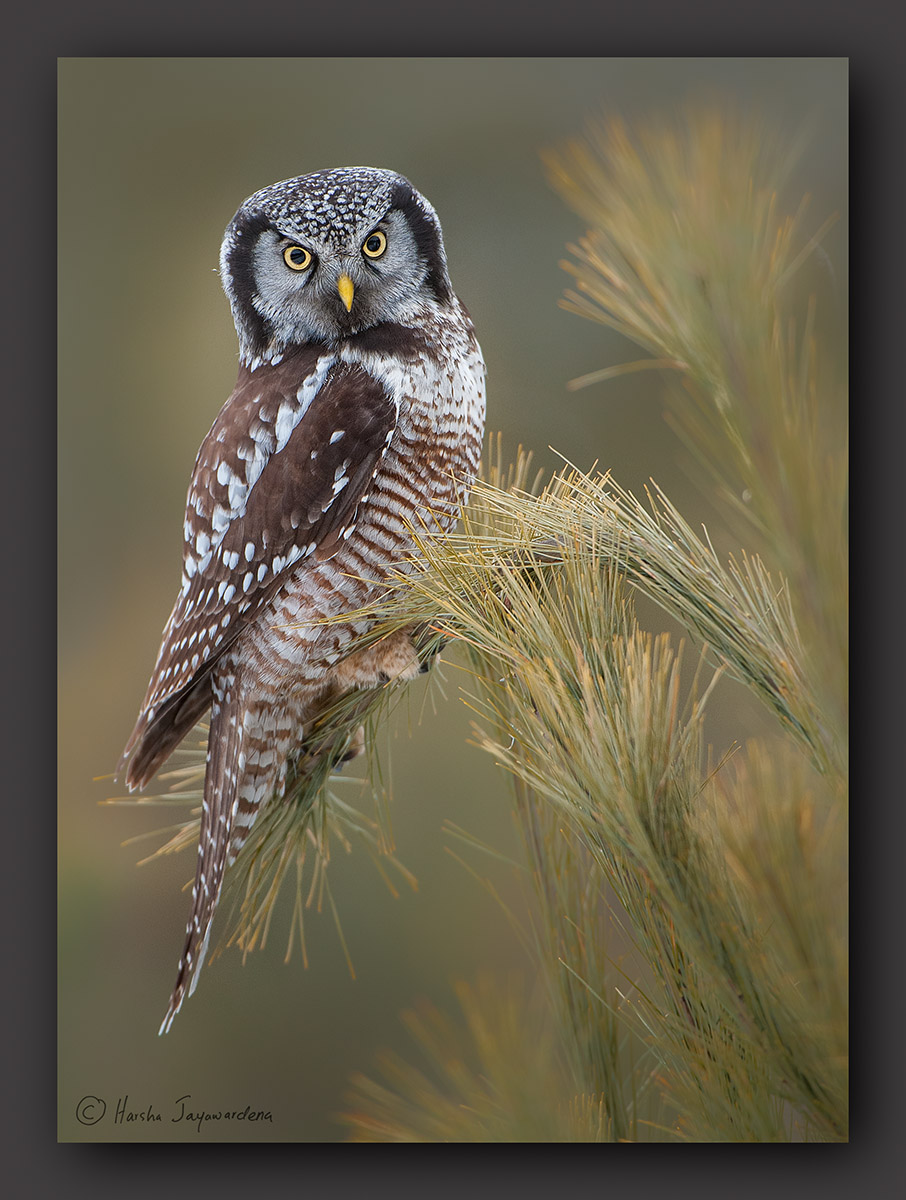
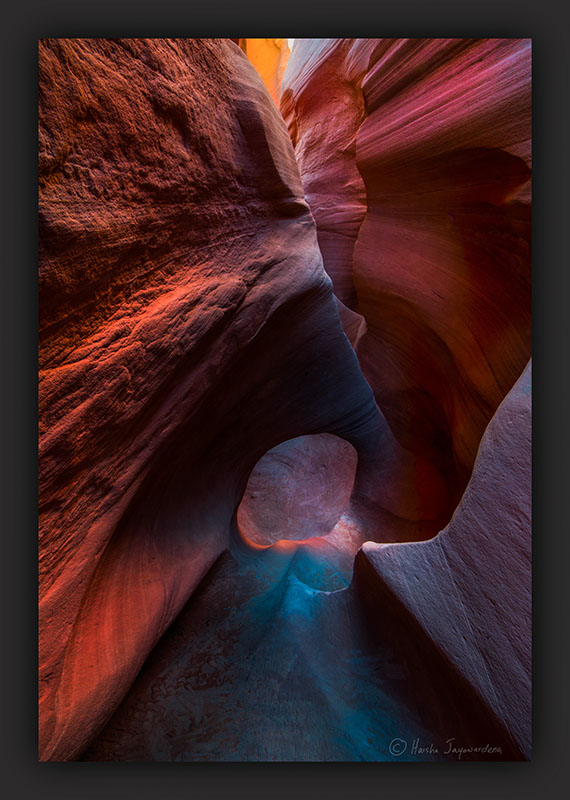
F5.6, 1/1000, ISO 1600, 850mm

Auto ISO is a useful  but not well understood feature available in newer DSLRs and point and shoot cameras. When this is enabled, cameras automatically change the iso frame by frame to achieve the best image quality (at least in theory).

ISO is the measure of sensor sensitivity to the light. At the base ISO, the sensor produces its best image. After that the light signal is boosted to obtain increase sensitivity which produces noise.

Auto ISO was first  implemented in Nikon DSLRs starting in 2004( D70). It was less useful at that time due to limited ISO range in earlier sensors. Newer DSLRs have better and effient sensors that can handle a wide range of ISOs. For instance my Nikon D800 has an  ISO range of 100-6400. New Canon 1Dx goes from 100-51200.

I found that the auto iso can be very beneficial in situations where the lighting conditions change rapidly (i.e. if you’re photographing a theater production that has different lighting for different scenes). You want to keep the shutter speed reasonably high to get sharp pictures but want a lower ISO setting when the scene is bright. With auto ISO you can tell the camera to shoot say between ISO 100-3200 and keep the shutter speed around 1/400 second. If there is enough light the camera will drop the iso to the lowest  possible number, maintaining a shutter speed of 400. When the light is low it will increase the ISO to achieve the correct exposure at 1/400 of second.

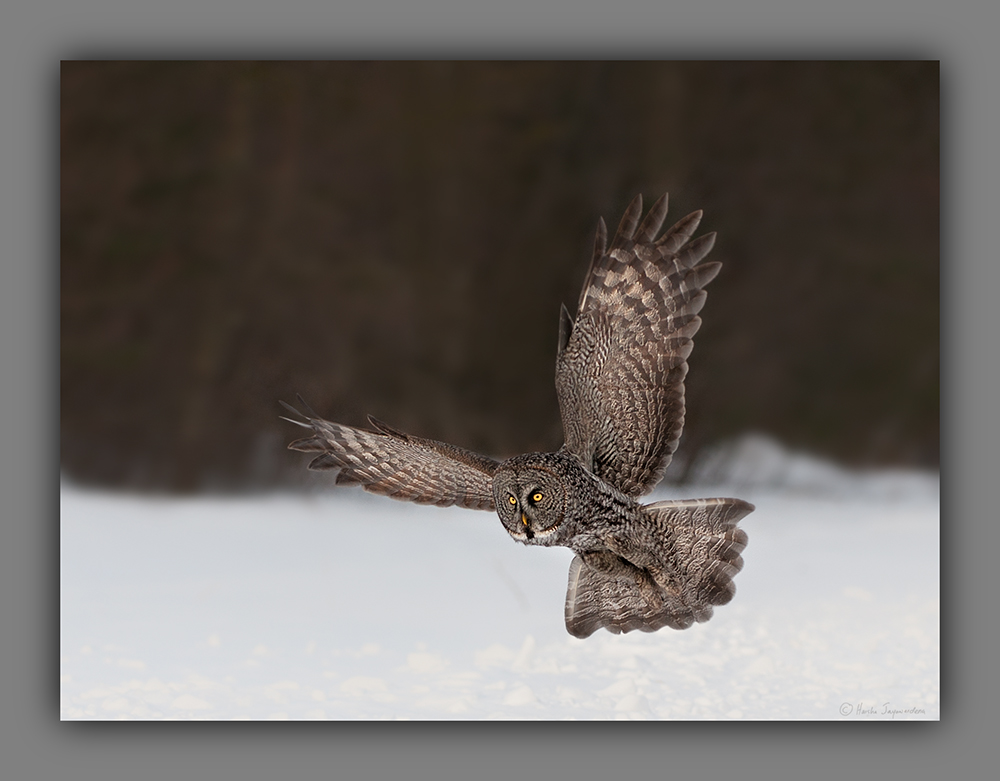
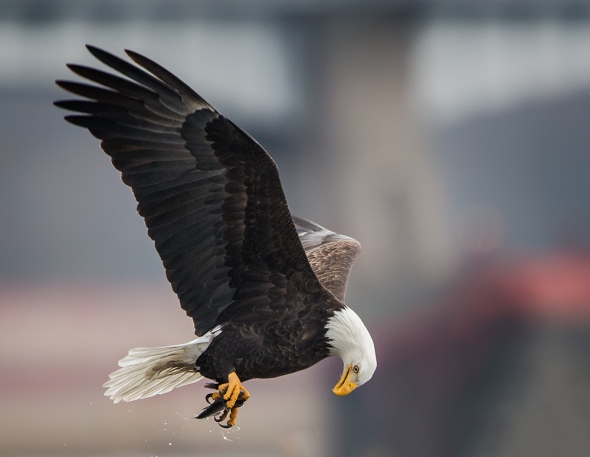
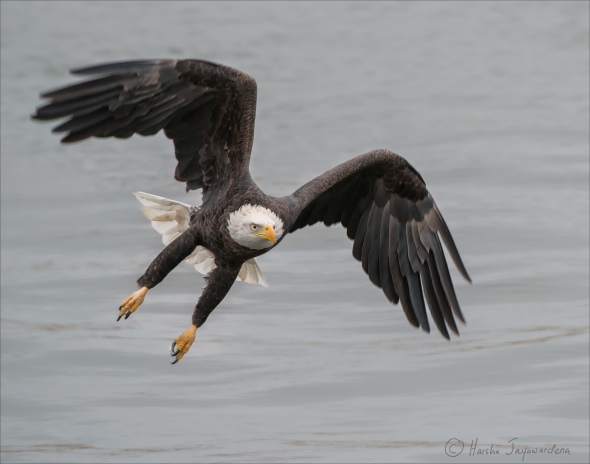
Another instance where I would use this is when photographing birds in flight on partially cloudy days . I encountered this recently when I was visiting lock and dam 14, Mississippi River on 1/7/13. The day was  mostly cloudy with sun breaking through from time to time. The light was changing constantly. I set the minimum shutter speed at  1/1600 of second and set the camera to aperture priority. Iso range was set between 200-1000. During the entire session I had a minimum shutter speed of 1/1600  and many sharp pictures.

General rule of thumb is to set the minimum shutter speed at 1/ focal length of the lens you’re using. For instance if you’re using a 200mm lens set the minimum shutter speed at 1/200 second.

Consider auto iso feature a safety net. Use it in conditions where you don’t have time to fiddle with the settings.

For best results use a conservative iso range.

Using auto ISO in manual mode gives the most control. More about this later.

harshaj_130112_110ver2web

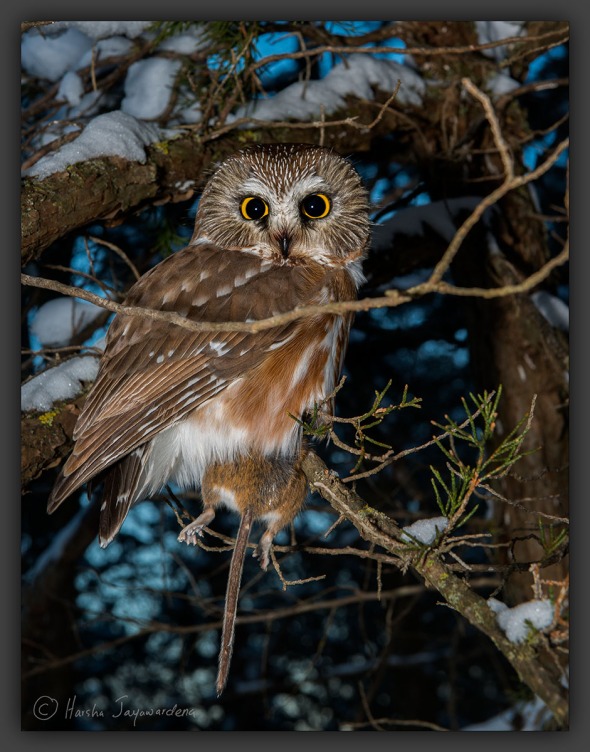
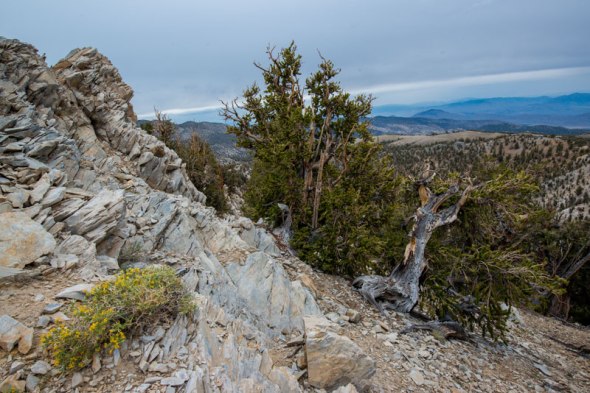
 F5.6, 1/1000, 850mm, iso1600

So How does it work?

Different camera brands implement this feature in a slightly different way. Most of my experience is from using Nikon cameras but can be applied to any camera brand.

First thing you need to know is the useful ISO range for your camera.  You cannot go by the manufacturer’s specs. The useful ISO range is much more limited than what is specified  by the manufacturer. For instance my Nikon D800 has a ISO range of 100-6400. Most of the time I am only comfortable using between 100-1600 ISO range . Your limits might vary depending on the subject and your tolerance of the image noise.

Next thing you have to decide is what exposure mode to use. Most cameras allow you to shoot in three basic modes.  These are manual mode, aperture priority or shutter priority. Some camera brands call these modes by different names, ( Canon call there’s Manual, AV mode and TV mode). I prefer to use aperture priority mode.

In aperture priority mode you select the aperture you want and the minimum shutter speed. The iso changes when the correct exposure cannot be maintained by the given aperture.

In manual setting (M mode) the iso changes if the shutter speed and the aperture you selected won’t achieve the desired exposure.  Auto ISO in manual mode can be a powerful tool enabling control over both the shutter speed and the aperture, letting the camera control the iso.

In shutter priority( TV mode) you set the minimum shutter speed and the camera changes the aperture and the iso to maintain that shutter speed.

How do you set your camera to use Auto ISO?Capture 1

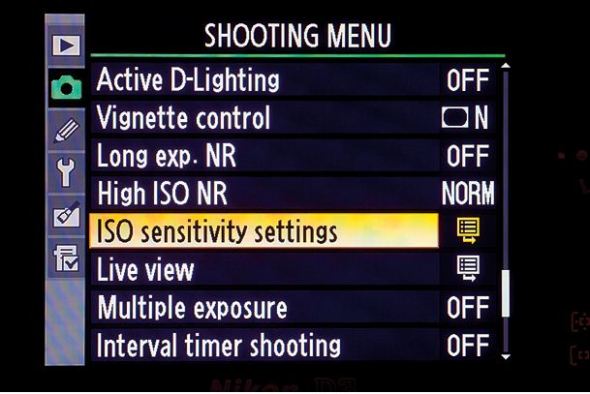
Here is how I do it in my Nikon camera. Go to the shooting menu and choose ISO sensitivity settings.

Capture 2

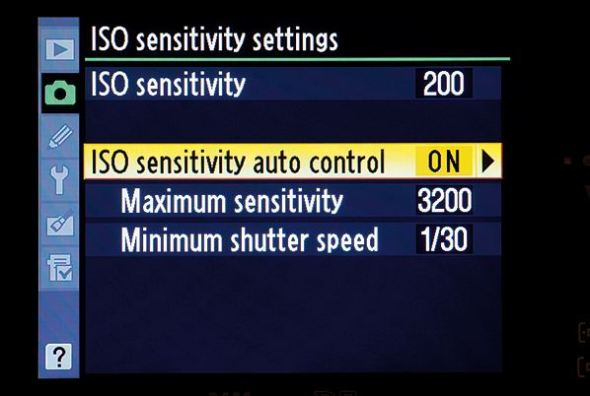
Turn on the Auto ISO . In the sub menu you have the option to set the maximum iso you can tolerate and the minimum shutter speed you want.

In my D800, instead of setting the minimum shutter speed  I have the option of choosing auto. If this is selected the camera sets the shutter speed at 1/focal length of the lens.

harshaj_130106_101

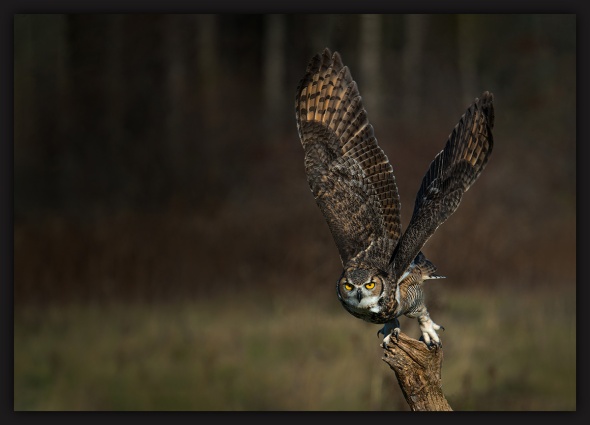
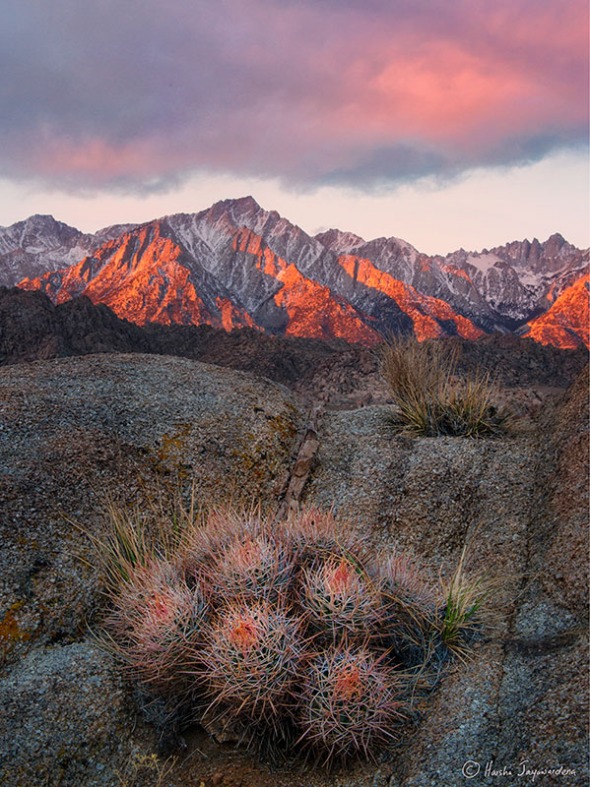
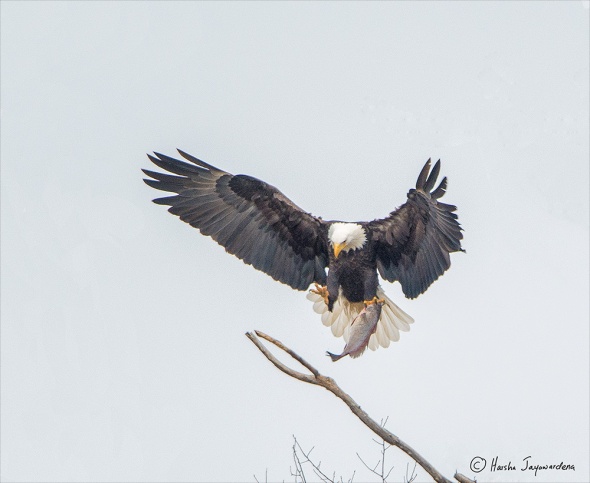
F5.6, 1/1000, iso 1000, 400mm

When not to use auto ISO

You are at the mercy of the camera when using this feature so be aware of  the following

1. If your camera is old and has a limited useful ISO range.

2. If the lighting conditions are stable, it is better to use either manual or one of the other modes where you have more control.

3.  If the target area covers only a small portion of the overall scene, there is a possibility that the the metering system may get the exposure wrong. In such cases all the images you capture may have the wrong exposure so it is wise to make sure the histogram is correct  from time to time..

4. Be very cautious using auto ISO with spot metering. Matrix metering or center weighted metering  modes are preferred .

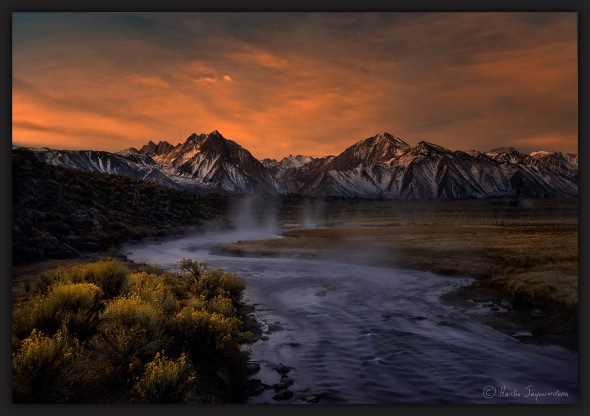
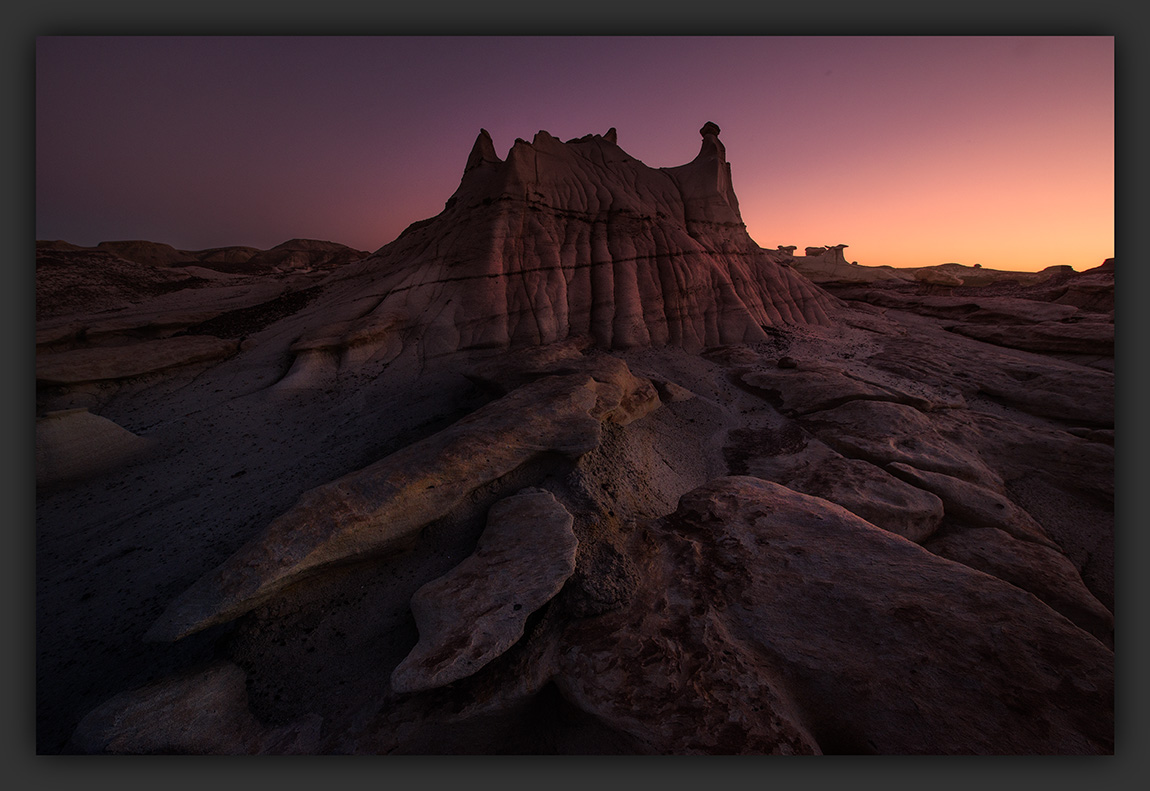
5. Landscape photography.

6. In creative photography such as in a studio where you might want a certain look.  eg.  a silhouette.

7. Be conservative when setting the iso range .  Otherwise you may end up with noisy images.

8. Does not work with flash.  If flash is used shutter speed revert back to cameras flash sync speed. eg, 1/250 sec.

9. If you want a consistent look to your series of  pictures so you can batch process them later, do not use auto ISO.

I love to hear your thoughts if you are using this feature.